
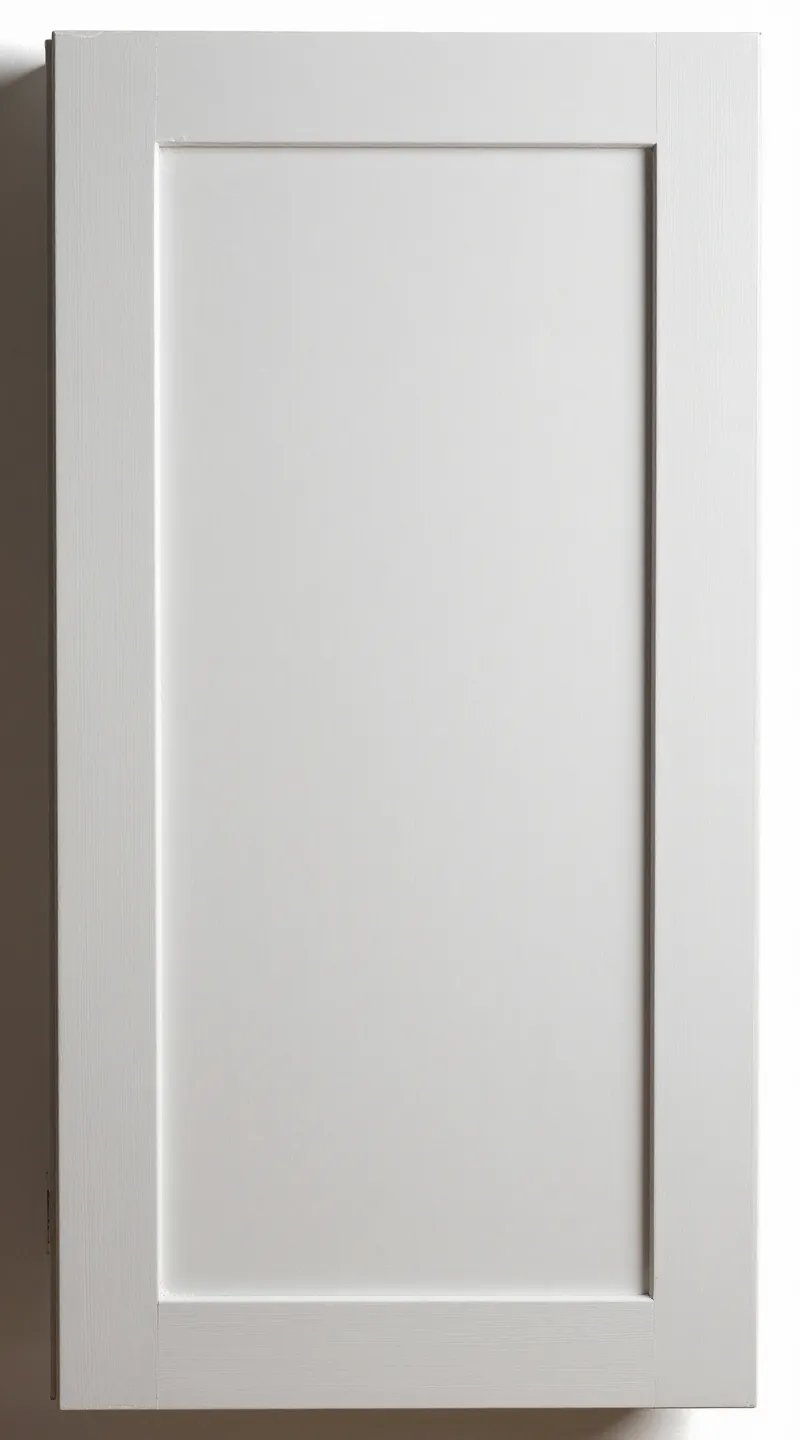
You want fresh-looking cabinets without white-knuckling a sander for hours? Good. You absolutely can skip sanding and still get a durable, smooth finish—if you prep right and use the right products. This isn’t a corner-cutting hack; it’s a smarter workflow. Let’s turn those tired doors into showpieces without covering your kitchen in dust.
Why You Can Skip Sanding (And When You Can’t)
You don’t need to sand if you use products that do the heavy lifting for you. Deglossers, bonding primers, and tough paints stick like a dream when you apply them properly. They replace the scuff-sand step for most cabinet materials.
When should you still sand? If your cabinets have peeling finish, swollen water damage, or deep scratches, you’ll need a quick spot sand to level those out. Don’t worry—that’s five minutes, not a weekend. For glossy, intact finishes, you’re good to go no-sand.
Tools and Materials You Actually Need
Keep it simple but don’t skimp. The right products make or break this job.
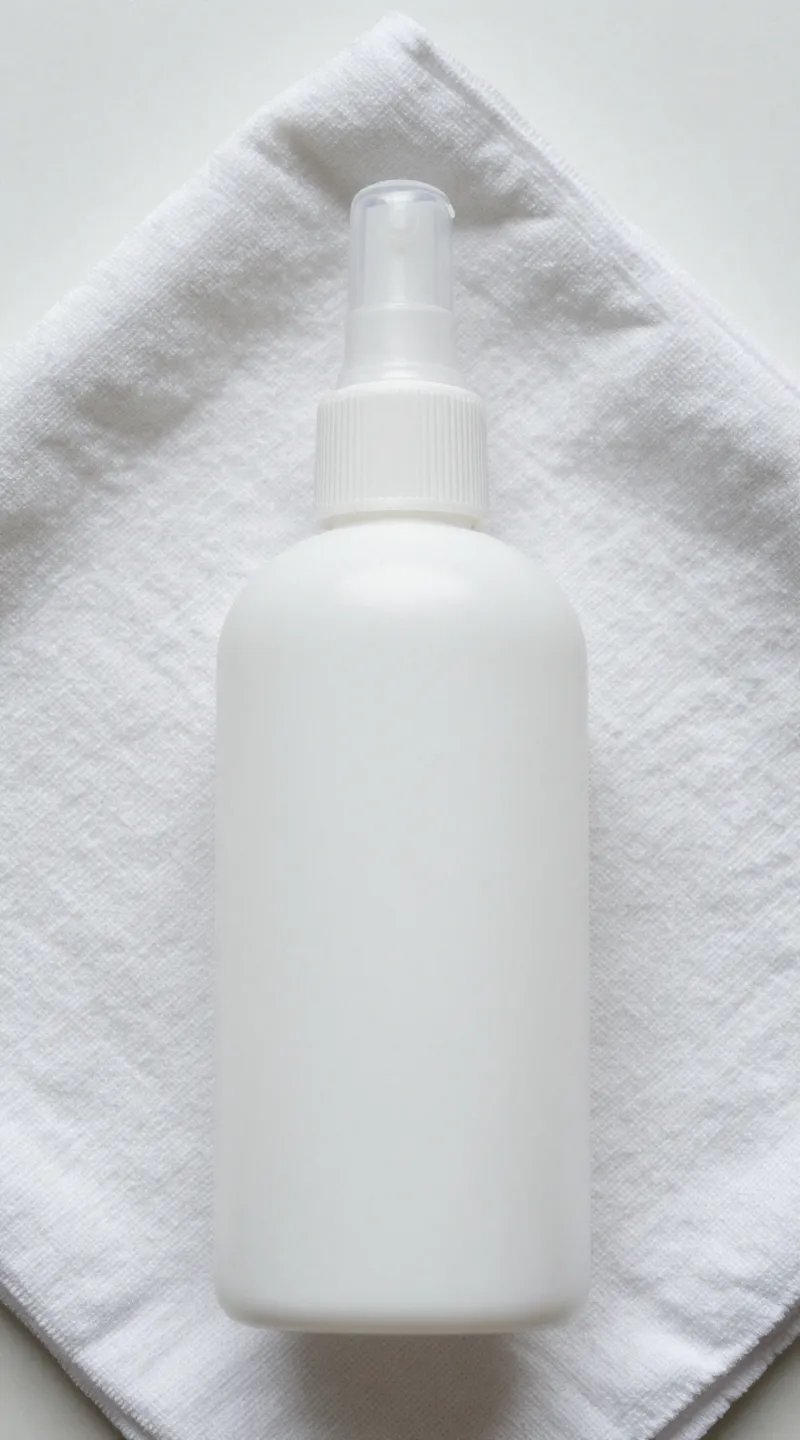
- Degreaser/deglosser: Krud Kutter Gloss-Off or liquid sandpaper
- Bonding primer: Stix, BIN shellac-based, or Insl-X Cabinet Coat primer
- Cabinet-grade paint: Acrylic urethane or enamel (e.g., Benjamin Moore Advance, Sherwin-Williams Urethane Trim Enamel)
- Applicators: 1–2 high-density foam rollers, a quality angled brush (1.5–2”), and/or an HVLP sprayer (optional)
- Cleaner: TSP substitute or heavy-duty degreaser
- Filler: Wood filler or spackle for dings; caulk for tiny gaps
- Drop cloths, painter’s tape, and labeled bags for hardware
- Tack cloths and microfiber rags for dust and residue
- Nitrile gloves and a respirator if you use shellac-based primer
Prep Like a Pro (Without Sandpaper)
If you skip sanding, prep matters 10x more. This is where your finish gets its staying power.
- Clear and label: Remove doors and drawers. Label each with painter’s tape so you don’t do a jigsaw puzzle later. Bag the hardware.
- Deep clean: Degrease everything—fronts, backs, edges, frames. Kitchens hide sneaky grease that ruins adhesion. Rinse with clean water and dry.
- Degloss: Apply liquid deglosser with a lint-free rag. Work in sections. Wipe as the label says. This step is your “no-sand” hero.
- Repair: Fill dings and old hardware holes. Let dry, then lightly level with a sanding sponge if needed (30 seconds, IMO, doesn’t count as sanding). Caulk tiny gaps where frames meet walls.
- Dust control: Wipe surfaces with a damp microfiber, then a tack cloth. Dust ruins silky finishes, FYI.
Pro Tip: Set Up a Smart Painting Station
Use painter’s pyramids or scrap screws under door corners to lift them off your table. You’ll paint edges without sticking and your sanity remains intact.
Prime for Adhesion (This Is the Secret Sauce)
You can’t skip primer. You need a bonding primer that grabs glossy surfaces.
- Stain/wood cabinets: BIN shellac-based blocks tannin bleed and grips like crazy. Smelly, but bulletproof.
- Laminate/thermofoil: Stix primer is your best friend. It bonds to slick surfaces.
- Unknown finish? Do a test panel with Stix. If it scratches off with a nail after curing, you need shellac or more deglossing.
Roll thin, even coats. Start with the backs of doors, then fronts. Hit edges last to catch drips. Let primer cure fully—not just dry. Check the can; many need 6–24 hours to harden. Lightly denib with a brown paper bag or extra-fine pad if you feel texture.
Blocking Stains and Orange Bleed
If you see yellowing or pinkish bleed after priming, apply a coat of shellac primer over everything. Don’t fight tannins with regular paint—you’ll lose.
Choose the Right Paint (Finish Matters)
Cabinets take abuse. You want a hard, self-leveling enamel or acrylic urethane.
- Best sheen: Satin or semi-gloss. Satin hides more sins; semi-gloss gives more wipeability.
- Color: Warm whites hide wear better than stark bright whites. Dark colors look premium but show dust more.
- Brands: Benjamin Moore Advance (excellent leveling), Sherwin-Williams Urethane Trim Enamel (durable), Behr Urethane Alkyd (solid budget pick).
Apply two to three thin coats. Let each coat dry and cure as directed. Resist the urge to rush—curing builds toughness.
Brush vs. Roller vs. Sprayer
– Foam Roller + Brush: Best balance for beginners. Brush corners, roll flats. Minimal texture if you go thin.
– Sprayer: Flawless finish if you can set up a spray area and mask well. Practice on cardboard first.
– All-brush? You’ll see more strokes. If that doesn’t bug you, go for it.
Technique That Delivers a Factory-Like Finish
Want it smooth? Focus on these steps:
- Work thin: Thick coats sag. Two to three thin coats look pro and last longer.
- Keep a wet edge: Overlap slightly and move on. Don’t overwork areas after they set.
- Check edges: Run your brush along edges to catch drips before they dry.
- Level your surface: Doors should lie flat while drying to avoid runs, IMO.
- Final pass: Feather light, one direction. Then stop touching it. Seriously.
Dry Time vs. Cure Time
Dry means you can touch it. Cure means it’s tough. Many cabinet paints need 7–30 days to fully cure. Reinstall carefully after a couple days, but treat them gently for a few weeks. Use bumpers so doors don’t stick.
Hardware, Reassembly, and Little Upgrades
While paint cures, clean or swap hardware. New pulls make your work look custom. If you changed hole spacing, measure twice and use a jig so everything lines up.
Reinstall doors in labeled order. Adjust hinges so gaps look even. Add felt or silicone bumpers so fresh paint doesn’t kiss frames—no one likes sticky cabinet drama.
Mistakes to Avoid
– Skipping degreasing: Paint won’t stick to kitchen grease. Full stop.
– Cheap primer: Regular wall primer doesn’t cut it here. Use bonding or shellac.
– Rushing recoat times: You’ll trap solvents and get soft paint.
– Painting in a dusty space: Turn off fans blowing dust, and vacuum first.
– Going heavy: Thick coats sag and chip sooner. Thin wins, FYI.
FAQs
Will paint stick to laminate cabinets without sanding?
Yes—if you use a bonding primer like Stix and clean/degloss thoroughly. Test a small spot and let it cure 24–48 hours. If it resists a fingernail scratch, you’re good.
Do I need a topcoat over cabinet paint?
Usually no. Cabinet enamels cure hard and don’t need polyurethane. If you want extra protection on high-traffic doors, use a waterborne polyurethane designed for light colors to avoid yellowing.
How long will a no-sand paint job last?
With proper prep and quality products, 5–10 years of solid wear is realistic. Clean with mild soap and water. Avoid harsh abrasives and banging doors like a rock concert.
Can I paint over oil-based finishes?
Yes, with the right primer. Use shellac-based primer or a high-adhesion bonding primer first, then your enamel. Deglossing is non-negotiable here.
What if my cabinets are peeling or bubbling already?
You need to remove loose material. Scrape, spot sand those areas smooth (quick and targeted), prime with shellac or bonding primer, then paint. Skipping this step just seals in problems.
What color hides wear and fingerprints best?
Mid-toned shades—greige, muted green, navy, or warm off-white—are forgiving. Super bright whites and ultra-dark blacks show everything. Pretty? Yes. High maintenance? Also yes.
Wrap-Up: No Sanding, No Problem
You don’t need a belt sander to get gorgeous, durable cabinets. You need clean surfaces, a legit bonding primer, and patient, thin coats of cabinet-grade paint. Do the prep, trust the process, and let the paint cure. Your “new” kitchen will look like a pro stopped by—minus the invoice, IMO.