
Let’s skip the fluff: you want a charming wooden sign that looks like you found it at a farm stand, not a big-box store. You can make one in an afternoon with basic tools, cheap wood, and a little paint. Expect sawdust, a satisfying “wow, I made that,” and maybe a splinter if you forget gloves. Ready to mess up your kitchen table (in a cute, rustic way)?
Pick Your Wood (The Soul of the Sign)
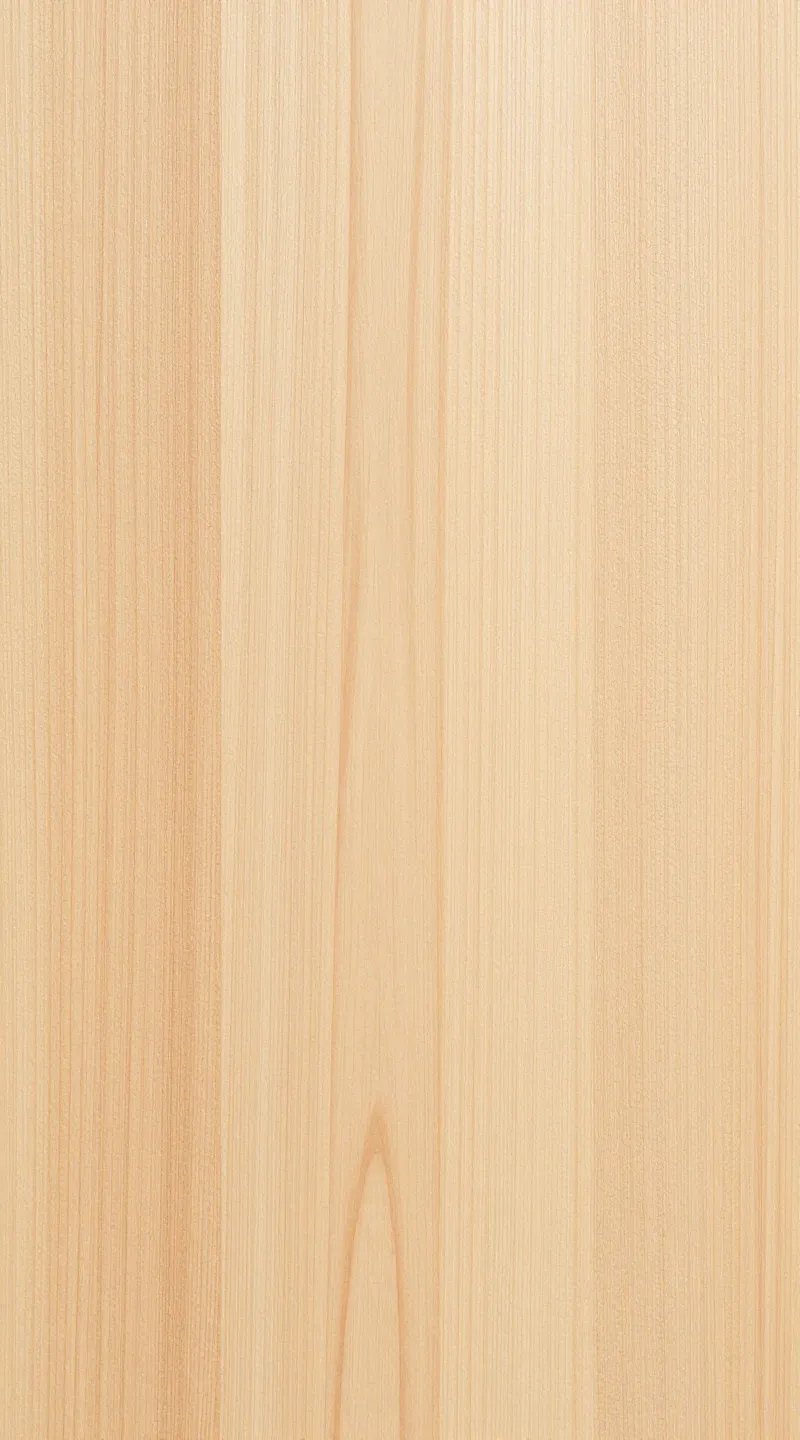
The wood sets the vibe, so pick wisely. You can use pine boards from the hardware store, pallet wood, or scrap lumber if you’ve got a stash. Pine gives you smooth, even grain; pallet wood gives you that weathered, imperfect look we all pretend is “on purpose.”
- 1×6 or 1×8 pine boards: Easy to work with, cheap, and uniform.
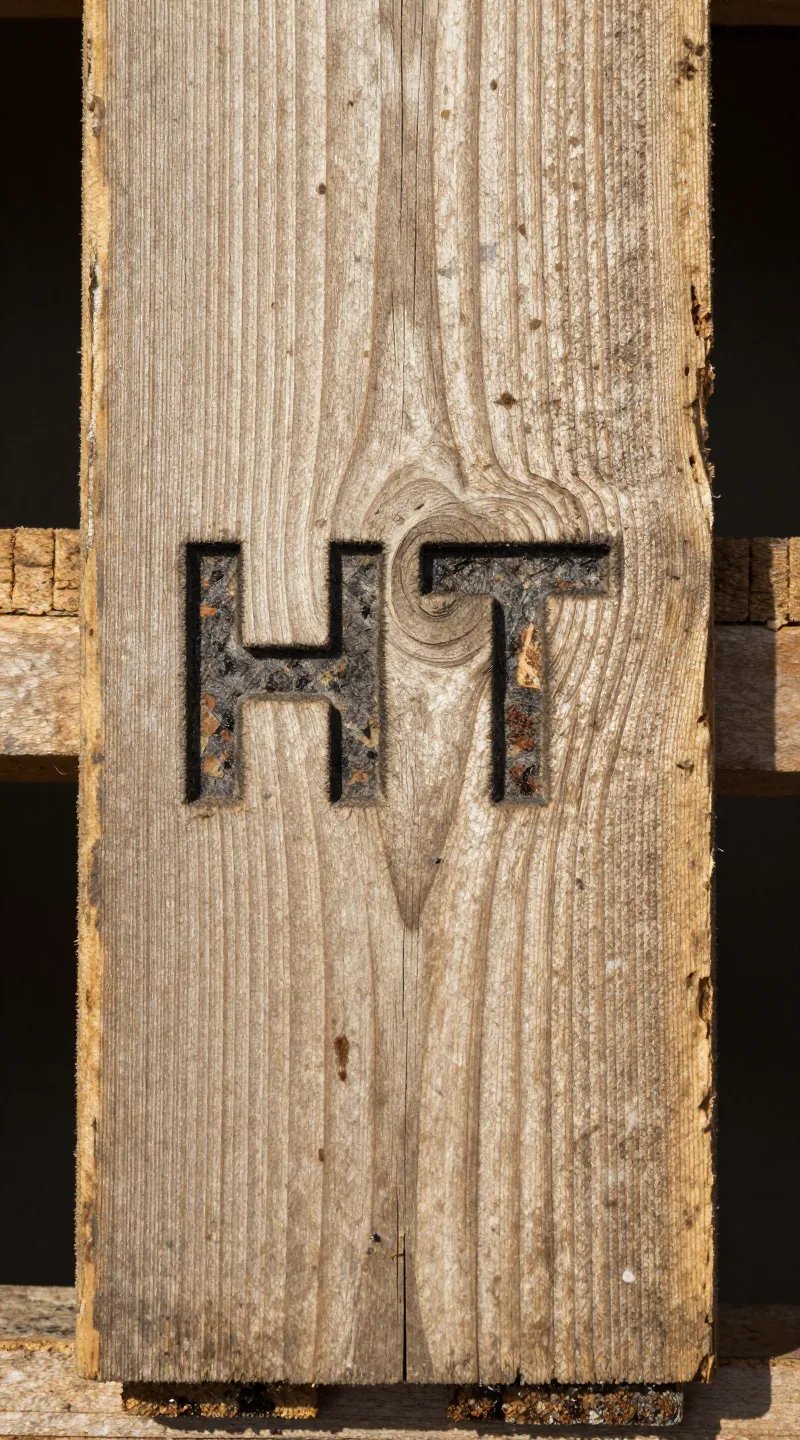
- Pallet wood: Free and rustic, but check for stamps (HT = heat-treated = safe).
- Plywood: Works in a pinch for indoor signs, but edges need sanding and sealing.
Size and Shape
You don’t need a blueprint—just rough it out. A classic sign runs about 18–24 inches wide by 6–10 inches tall. Want something extra rustic? Join two or three boards together with back battens and let the uneven edges do their thing.
Prep Like a Pro (Sanding, Cleaning, and Safety)
No one loves sanding, but everyone loves how it makes paint behave. Sand with 120-grit to knock down rough spots, then 220-grit to smooth it out. Wipe dust with a tack cloth or a damp rag, and you’ve got a clean canvas.
- Round the edges slightly so your sign looks worn-in, not freshly chopped.
- Fill big cracks with wood filler if you want clean lettering; leave them if you want extra rustic charm.
- Wear a mask and goggles, FYI your lungs and eyeballs prefer dust-free living.
Stain, Paint, or Both? (The Background)
This is where the rustic magic happens. You can stain for a wood-forward look or paint for a vintage “found it in grandma’s barn” vibe. Either way, keep it simple.
- Stain route: Wipe on a medium or dark stain (walnut, espresso, driftwood). Let it dry. Done.
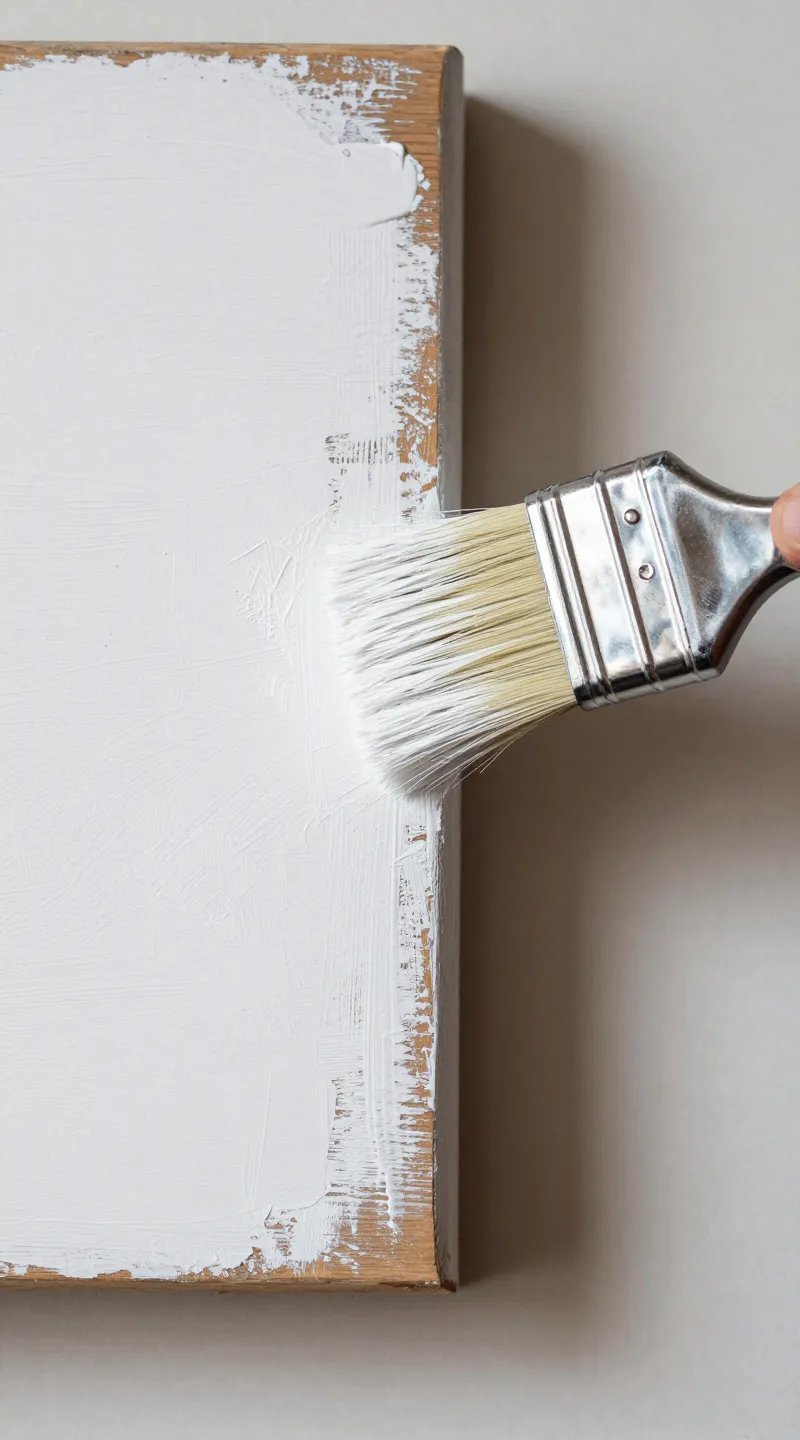
- Paint route: Brush on a matte or chalk-style paint for that flat, velvety look. Light colors pop with dark lettering.
- Stain + paint combo: Stain the wood, then dry-brush a little white or gray paint so the grain still shows. Chef’s kiss.
Distressing Tricks
You want character, not chaos. Keep it controlled.
- Lightly sand edges and raised grain after painting for that “aged” look.
- Rub candle wax on edges before painting so the paint resists and scrapes off easily (fake weathering FTW).
- Tap gently with a chain or hammer for dings—sparingly, not like it owes you money.
Lettering Without Tears
You’ve got options, and they don’t require art school.
- Stencils: Buy premade alphabet stencils, or cut your own with a craft knife. Tape well, dab paint with a foam pouncer, and don’t overload it.
- Transfer method: Print your text, rub pencil/graphite on the back, place it on the sign, trace the letters, then paint inside the lines.
- Vinyl letters: Use a cutting machine (Cricut/Silhouette) to cut vinyl, stick on, and either leave as-is or paint over and peel for crisp lines.
- Freehand: Brave souls only. Use a chalk outline first. IMO, imperfections make it cooler.
Fonts and Layout
Pick one main font and one accent at most. Script plus a clean serif = classic farmhouse. Bold block letters scream café sign. Center your text or anchor it left for a modern feel. And always test your layout on paper first.
Tools and Materials (Keep It Simple)
You don’t need a full workshop. A table, some clips, and patience will get you there.
- Wood (pine board, pallet wood, or scrap)
- Sander or sanding block (120 and 220 grit)
- Stain or paint (matte/chalk paint looks extra rustic)
- Brushes and foam pouncers
- Painter’s tape
- Stencils or printed layout
- Sealer (polycrylic for clear, matte spray for easy, exterior spar urethane for outdoor use)
- Hanging hardware (D-rings, sawtooth hangers, or jute rope)
Step-by-Step: One Weekend Rustic Sign
Let’s make a simple “WELCOME” board with a stained background and painted letters.
- Cut and sand: Cut your board to around 24 x 7 inches. Sand smooth. Wipe clean.
- Stain: Apply a walnut or driftwood stain with a rag. Wipe off excess. Dry per can directions.
- Dry-brush: Lightly brush white or gray paint across the grain so wood still shows through. Optional, but looks great.
- Layout letters: Use stencils or the transfer method to outline “WELCOME.” Keep spacing even—use painter’s tape as a baseline.
- Paint letters: Dab, don’t swipe. Two light coats beat one drippy one. Let dry.
- Distress: Lightly sand edges and hit the letters with 220-grit for that lived-in look.
- Seal it: Brush or spray a clear matte sealer. For outdoor use, choose exterior-grade.
- Hang it: Add D-rings on the back, or drill two holes at the top and thread jute rope. Boom. Rustic glory.
Color Combinations That Just Work
- Dark walnut + white letters = classic farmhouse
- Gray wash + black letters = modern rustic
- White background + charcoal letters + light distressing = coastal cottage
- Natural pine + navy letters = clean and bold
Finishing Touches That Elevate the Look
Little details make your sign look legit, not “Pinterest attempt #4.”
- Add borders: Tape a thin border and paint it a shade darker than the letters.
- Use hardware: Screw on corner brackets, faux nailheads, or strap hinges for an industrial twist.
- Layer elements: Glue on a cutout shape (star, leaf, coffee cup) and paint it to match.
- Personalize: Add coordinates, family name, or an established date. Everyone loves a little custom flair, IMO.
Common Mistakes (And How to Avoid Them)
We’ve all been there. Let’s not go back.
- Bleeding paint under stencils: Press edges down hard and use almost-dry paint. Seal the stencil edges with a light coat of background color first, then your letter color.
- Rushed drying: If it still smells like paint, it’s not ready. Give each layer real time to dry or you’ll smear it with your enthusiasm.
- Over-distressing: Step back often. If you can see the wood from space, you went too far.
- Skipping sealer: Sun and humidity will wreck your masterpiece. Seal it, especially for porches and patios.
FAQ
What’s the easiest method for clean letters if I’m a beginner?
Use stencils with a foam pouncer and very little paint. Tape everything down, dab lightly, and lift the stencil straight up. If you want ultra-crisp results, seal the stencil edges with a light coat of the background color before painting the letters.
Can I use pallet wood safely?
Yes—just check the stamp. Look for “HT” (heat-treated). Avoid “MB” (methyl bromide) and unmarked boards. Sand thoroughly, remove nails, and wash with soapy water if it looks grimy. Let it dry before finishing.
Do I need a special sealer for outdoor signs?
Use an exterior-grade clear coat like spar urethane or a UV-resistant polycrylic. Apply two to three coats, and consider re-coating yearly if your sign gets direct sun or rain. Indoor signs can use a simple matte spray sealer.
How do I get that farmhouse “chippy” paint look?
Rub candle wax or petroleum jelly on edges and random spots before painting. After the paint dries, sand lightly—those waxed areas will resist and flake naturally. Layering two paint colors also adds depth when you distress.
What if my letters look uneven or crooked?
Use painter’s tape to create a baseline and measure margins from the edges. For stencils, mark center lines on both the board and the stencil to align properly. If you still go wonky, embrace it—it’s rustic, not a laser-etched road sign.
Can I skip sanding?
Technically yes, but your finish won’t stick well and the texture will fight you. Even a quick pass with 120-grit and a wipe-down helps a ton. Your paint will thank you. So will future-you.
Conclusion
Rustic wooden signs deliver maximum charm with minimal fuss, and you don’t need fancy tools or wizard-level skills to make one. Pick good wood, keep your layers thin, and let the imperfections work in your favor. Start simple, experiment with textures and fonts, and have fun with it. Before you know it, your walls—and your friends’ walls—will ask for more.