
You can transform a blank wall into a showstopper in one afternoon—no gallery membership required. A gallery wall adds personality, tells your story, and makes your space feel intentional. We’ll map it out step-by-step so you avoid the dreaded hole-patching marathon. Ready to plan, place, and hang like a pro? Let’s do it.
Choose Your Vibe (and Your Wall)
You don’t need 20 perfect frames to get started. You need a direction. Pick a vibe: modern minimal, eclectic travel, artsy black-and-white, or family memories. Then choose a wall that needs love—behind the sofa, along a hallway, or around a TV.
Pro tip: Aim for a wall at least 4–6 feet wide so your arrangement has breathing room. Tight corners can work, but you’ll need smaller frames and tighter spacing.
Curate a Cohesive Story
You can mix art styles and colors, but tie them together with at least one common thread:
- Color palette: Pick 2–3 main colors that repeat across pieces.
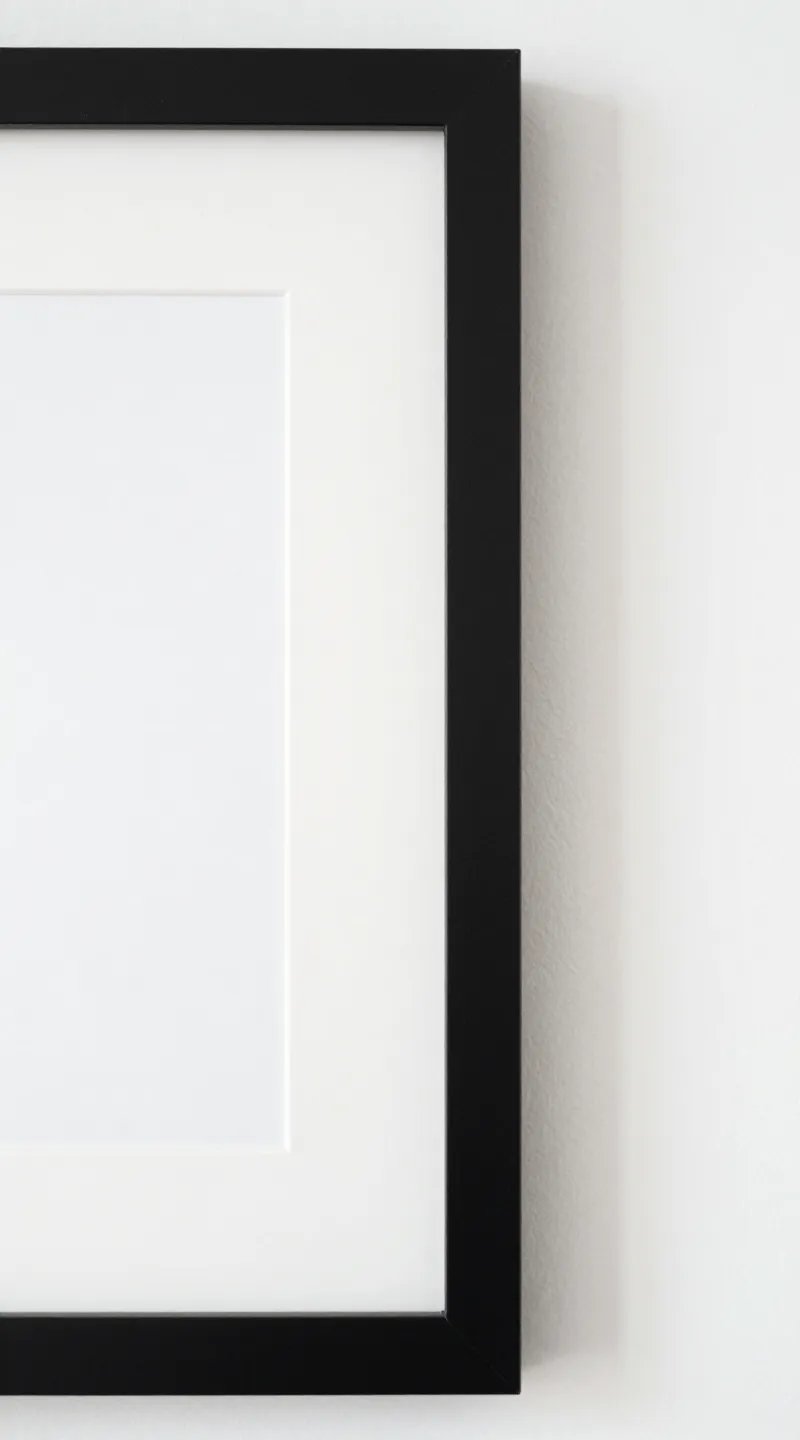
- Frames: Keep frames consistent (all black, all wood) or alternate two finishes.
- Theme: Travel photos, botanicals, vintage posters, or abstract prints.
IMO, a consistent frame color makes almost anything look intentional—even your cousin’s doodle from 2003.
Gather Your Art and Frames
Before you buy anything, shop your home. Pull prints, postcards, old photos, textiles, calendars—if you can frame it, it counts. Mix sizes for visual rhythm: a large anchor piece plus medium and small frames.
Aim for variety:
- 1–2 large pieces (16×20 or bigger)
- 3–5 medium (11×14, 12×12)
- 3–6 small (5×7, 8×10)
Frame Smart
– Use mats to elevate smaller prints. A mat can turn a tiny photo into a gallery-level piece.
– Mix orientations. Portrait and landscape add movement.
– Keep glass non-glare if the wall gets bright light. FYI, glare kills the vibe.
Lay It Out on the Floor First
Skip the impulse to start hammering. Lay everything on the floor and play with arrangements first. Build outward from your largest piece (your “anchor”), then fill in with medium and small frames.
Try these layout styles:
- Grid: Perfect rows/columns. Clean and modern. Demands matching frames and exact spacing.
- Linear shelf look: Align bottoms or middles along an invisible line. Casual, balanced.
- Organic cluster: Balanced but not symmetrical. Easiest to make look curated.
Spacing Rules That Never Fail
– Keep 2–3 inches between frames for a tight, gallery look.
– Use 3–4 inches for larger pieces or tall walls.
– Make visual “triangles” with sizes—big, medium, small repeating—to guide the eye.
Make Paper Templates (Yes, It’s Worth It)
This step saves your walls and your sanity. Trace each frame onto kraft paper or old wrapping paper, cut it out, and write the frame size on it. Tape the templates to the wall with painter’s tape.
Why it works:
- You can nudge pieces up/down without new holes.
- You’ll see how the arrangement relates to furniture and windows.
- You can double-check height before committing.
Find the Right Height
– Center your overall arrangement around 57–60 inches from the floor (eye level).
– If hanging above furniture, keep the bottom row 6–8 inches above the top of the sofa/console.
– For staircases, follow the angle of the stairs like a gentle wave.
Measure Once, Hang Once
Ready to commit? Grab a tape measure, level, pencil, and hardware. Measure where the hanging hardware sits on the back of each frame, not just the frame size. Mark that measurement on your paper template.
Choose the right hardware:
- Small frames: Adhesive strips or small nails
- Medium frames: Picture hooks rated to 20–30 lbs
- Large/heavy frames: Anchors or screws into studs
Hanging Order That Keeps You Sane
– Start with the anchor piece.
– Hang pieces that sit directly adjacent to it.
– Work outwards and keep a level handy. Tiny adjustments now prevent a cascade of crooked frames later.
Balance, Edit, and Add Texture
Step back after the first few pieces. Anything feel heavy on one side? Swap a dark frame to the other side or rotate a medium frame to a different spot. Balance matters more than symmetry.
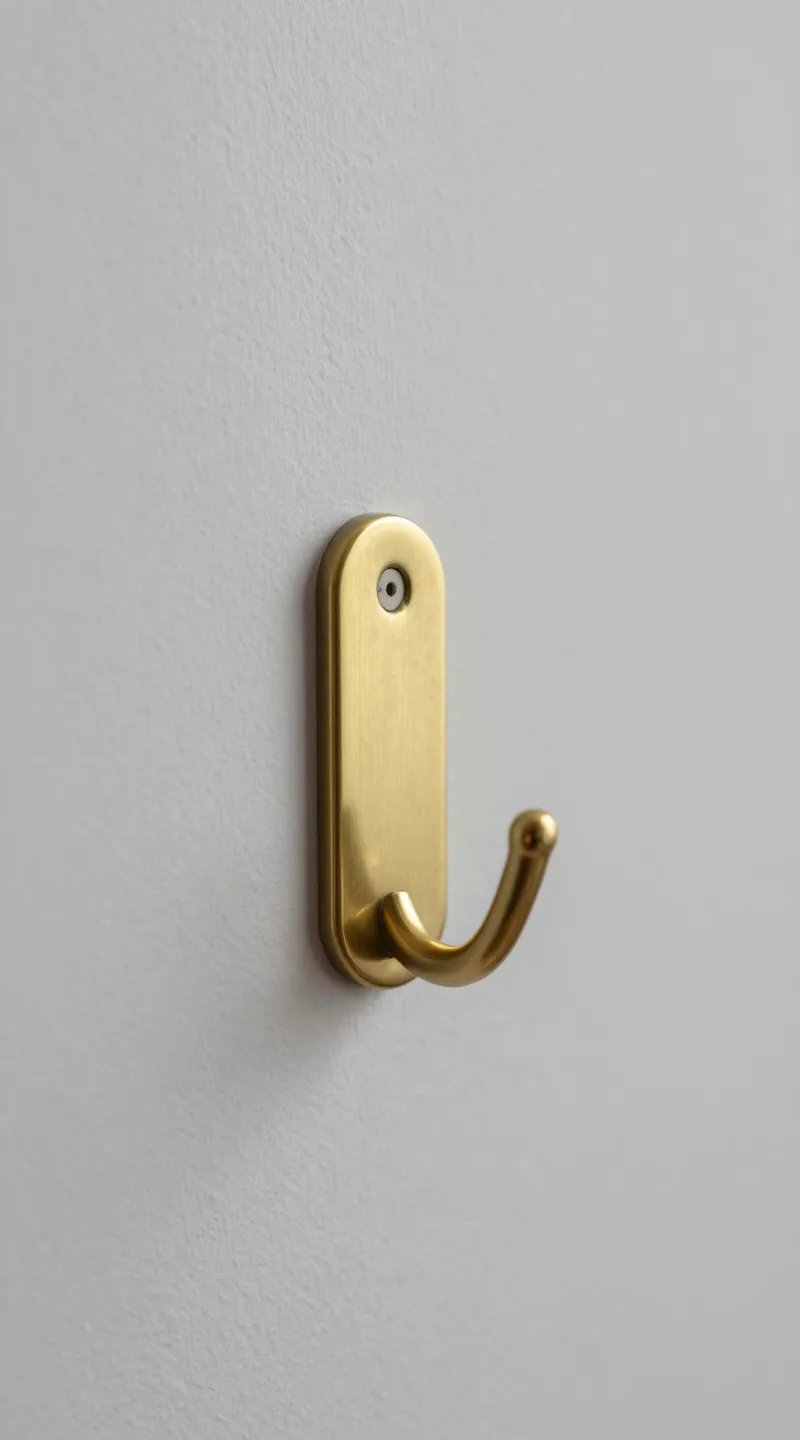
Add texture for depth:
- A woven basket or plate
- A small wall mirror
- A tiny shelf with a plant
- Framed fabric or a textile swatch
You’re not just hanging rectangles. You’re creating a visual story. Throw in a curveball piece and watch the wall come alive.
Style It Like a Pro
Once everything’s up, finesse the details. Swap a print that’s too low-contrast. Add a mat to a piece that looks cramped. If something bugs you every time you walk by, fix it now.
Designer cheats:
- Repeat a color three times across the wall for cohesion.
- Limit metallics to one finish (brass or black) for a cleaner look.
- Use consistent spacing even in organic layouts—it keeps chaos classy.
IMO, perfection kills personality. Leave a little quirk. Your guests will call it “charming.” You’ll know it was deliberate.
FAQs
How many pieces should I use on a gallery wall?
Use 6–12 for most walls. Smaller spaces look great with 5–7, while large living room walls can handle 12–18 if you vary sizes. Start with more than you think you need—curation beats scarcity every time.
Should I match all my frames?
Nope, not required. Matching frames create a clean, modern feel, but mixed frames look collected and cozy. If you mix, keep a common thread—same mat color, two frame finishes max, or a consistent color palette.
What if I rent and can’t make holes?
Use heavy-duty adhesive strips and lighter frames. Go for a ledge shelf if allowed—one or two holes for the shelf beats 12 holes for frames. Or create a “leaning” gallery on top of a console or fireplace mantel.
How high should I hang the whole arrangement?
Keep the overall center around 57–60 inches from the floor. Above furniture, keep the bottom row about 6–8 inches above the top. If you hang higher, the wall floats away from your furniture and looks disconnected.
Can I include 3D objects?
Absolutely—please do. Hats, small mirrors, woven trays, even shadow boxes add depth. Just anchor heavier objects near the center so the layout stays balanced and doesn’t feel lopsided.
What’s the easiest layout for beginners?
An organic cluster wins. Start with one large anchor, then add pieces around it with 2–3 inches between frames. It’s forgiving, fun, and looks curated without measuring every millimeter like a NASA engineer.
Conclusion
A gallery wall should feel like you—evolving, a little playful, and totally intentional. Plan it on the floor, test it with paper, then hang with confidence. Keep your spacing tight, your story cohesive, and your vibe consistent. And if anyone asks, yes, you curated the whole thing in an afternoon, like a boss.