You want a farmhouse coffee table that doesn’t cost a small fortune? Same. You can absolutely build one that looks straight off Pinterest without emptying your wallet or needing a full woodshop. I’ll walk you through the plan, the tools, and the tricks—plus a few mistakes I made so you don’t have to. Ready to make something you’ll brag about every time someone sets down a mug?
What Makes a Farmhouse Coffee Table “Farmhouse”?
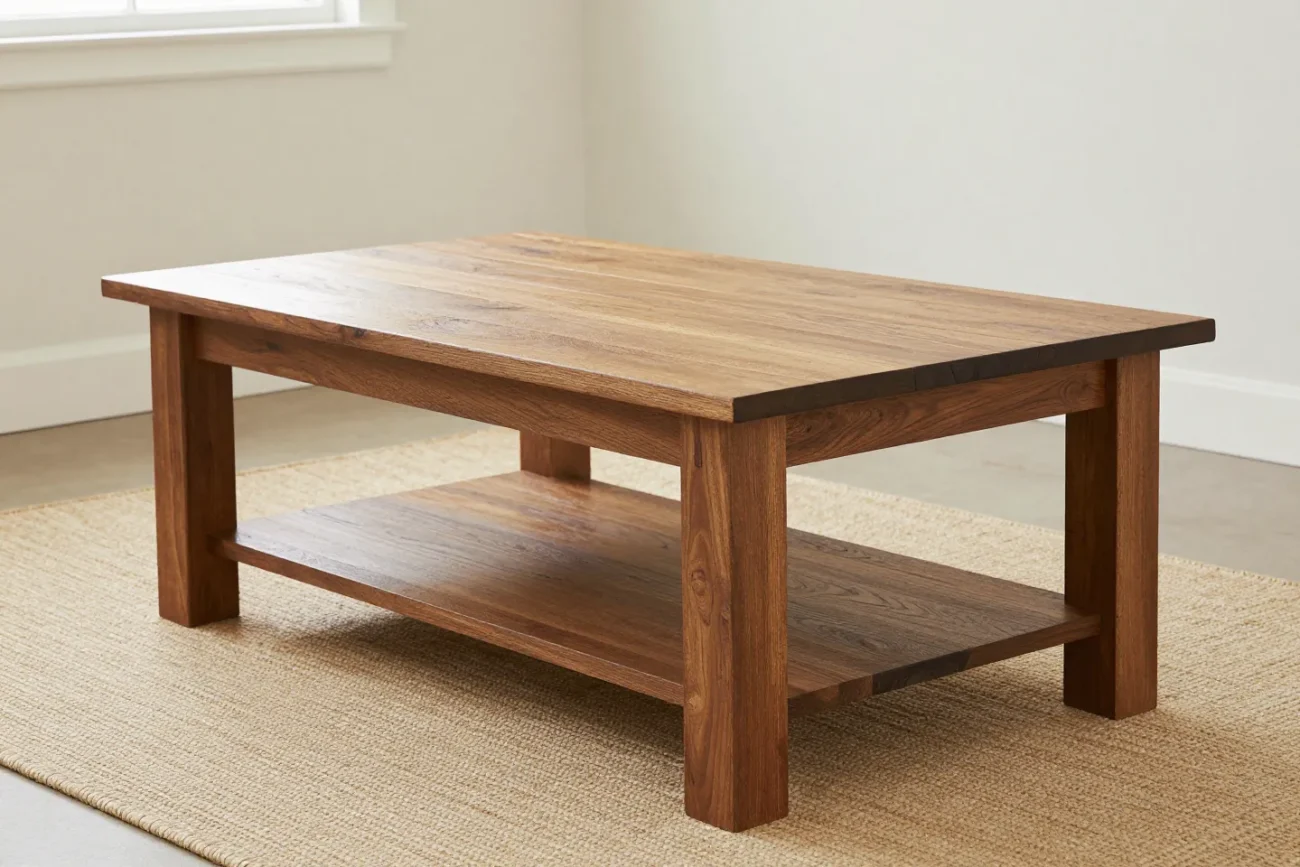
Farmhouse style mixes simple lines, natural wood, and a little rustic charm. You want sturdy, not fussy. Think thick top, chunky legs or an X-frame, and a finish that looks warm and lived-in. No gloss parade.
Key elements:
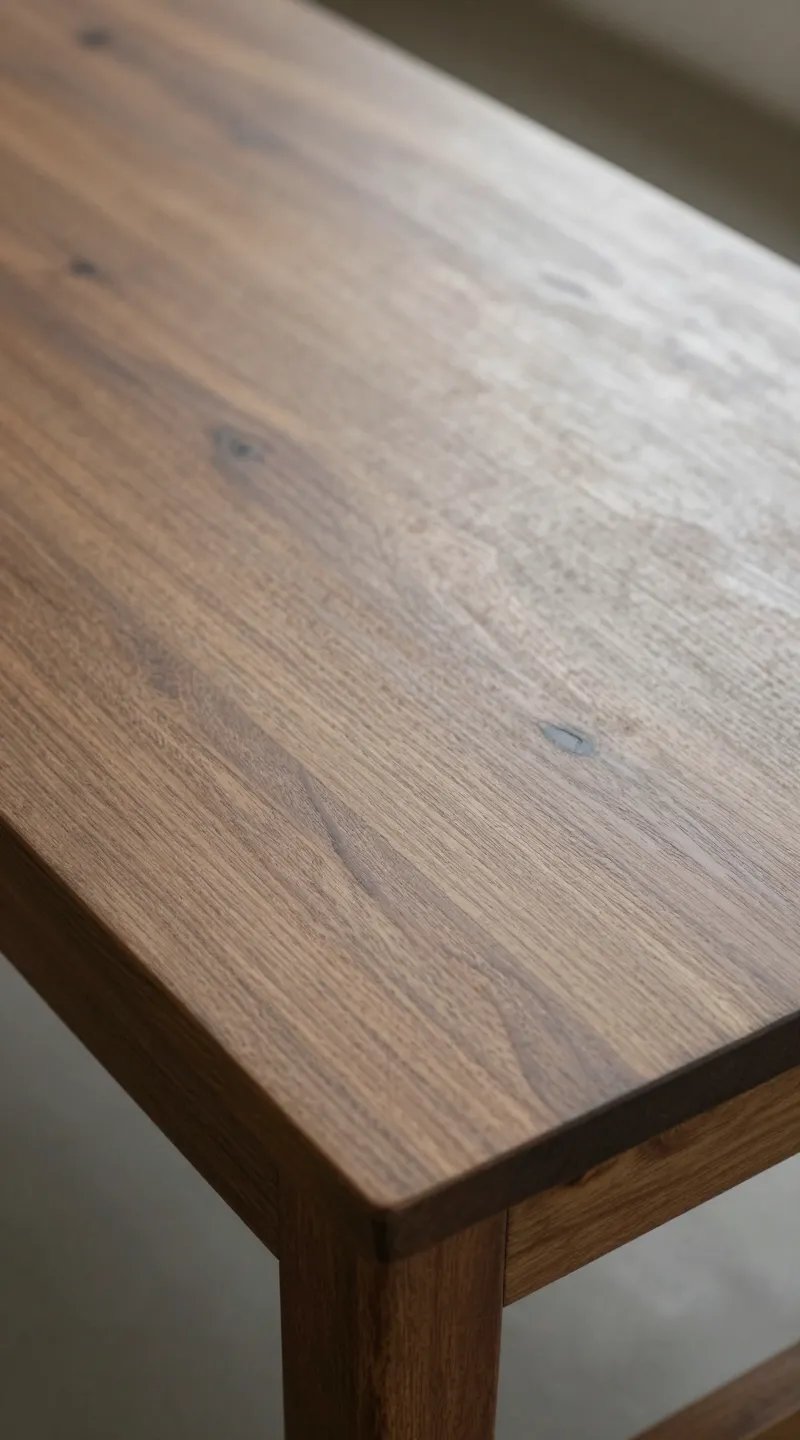
- Simple rectangular top with visible wood grain
- Sturdy base—either square legs, 4x4s, or a lower shelf
- Matte or satin finish in neutral tones
- A few imperfections embraced, not hidden
Budget-Friendly Materials You Can Actually Find
You don’t need fancy hardwood. Construction lumber and plywood do the job and still look great after a little glow-up. Grab the straightest boards you can find and keep a budget cushion for screws and finish.
Shopping list (approx. $60–$120, depending on size):
- (5–6) 2×6 boards for the tabletop (8 ft or 6 ft lengths, depending on table size)
- (2) 2x4s for stretchers and support
- (4) 4×4 posts for legs (or laminate 2x4s if 4x4s cost too much)
- 1 sheet of 3/4″ plywood (optional) if you want a lower shelf
- Wood screws (2.5″ and 3.5″) and pocket hole screws (if using a jig)
- Wood glue, wood filler, 120/180/220 grit sandpaper
- Stain (walnut or weathered oak) + water-based poly or matte polyurethane
- Optional: edge banding for plywood shelf
FYI: Prices swing a lot by region. IMO, spending a few extra dollars for straight lumber saves time and swearing.
Tools You’ll Actually Use (No Fancy Shop Required)
You can build this table with basic tools. If you don’t own them, borrow or rent.
- Circular saw or miter saw
- Drill/driver plus countersink bit
- Pocket hole jig (helpful, not required)
- Measuring tape, speed square, pencil
- Orbital sander (or sanding block if you enjoy long podcasts)
- Clamps (two or more long ones make life easier)
Plan the Size (So It Actually Fits Your Living Room)
A good coffee table size sits roughly the height of your sofa seat and leaves room to walk around.
Rule-of-thumb sizing:
- Height: 16″–18″
- Length: About 2/3 the length of your sofa
- Width: 18″–24″
- Space: Leave 16″–18″ between sofa and table
Example build: 48″ long x 24″ wide x 17″ high. It works in most living rooms and fits a board game without elbow wars.
Step-by-Step Build: Simple, Solid, and Stylish
We’ll build a chunky top from 2x6s, add 4×4 legs, and tie it together with 2×4 stretchers. Customize as needed.
1) Cut Your Lumber
Measure twice, cut once, then measure again because we all get cocky. For the 48×24 table:
- Tabletop: (5) 2×6 boards at 48″ (you’ll end up around 27.5″ wide; trim later to 24″)
- Legs: (4) 4×4 posts at 16″
- Long stretchers: (2) 2x4s at 39″ (between legs)
- Short stretchers/aprons: (2) 2x4s at 15″
- Optional shelf: 3/4″ plywood cut to 39″ x 15″ (sits between the stretchers)
2) Glue Up the Top
Line up your 2x6s edge-to-edge. Alternate the crown (the curve of the board) up and down to reduce warping. Apply wood glue, clamp across, and check for flatness.
Pro tip: Use a straight edge to keep all boards flush. Wipe glue squeeze-out with a damp rag (or embrace scraping later).
3) Assemble the Base
Create a rectangle with the long and short 2×4 stretchers. Use pocket holes facing inward or toe-screw at an angle if you don’t have a jig. Then attach the 4×4 legs inside each corner, flush with the top of the apron.
- Pre-drill to avoid splitting
- Use 3.5″ screws for legs into stretchers
- Check for square with a speed square at each joint
4) Add the Optional Lower Shelf
Cut plywood to fit between the stretchers. Add small 1×2 cleats or pocket hole the shelf from underneath. Edge band the front for a fancier look or leave it raw for extra “rustic.”
5) Sand Like You Mean It
Level the tabletop using 120 grit, then move to 180 and 220. Round over edges slightly so they feel smooth and human-friendly. Fill gaps with wood filler if you want a cleaner look.
IMO: Leave minor imperfections. That’s character, not a mistake.
6) Attach the Top
Flip the top upside down, center the base on it, and attach from the aprons into the underside of the top using 2.5″ screws. Leave a tiny expansion gap or use tabletop fasteners if you’re fancy. Wood moves with seasons—let it.
7) Finish for That Farmhouse Glow
Wipe with a damp cloth to raise the grain, let dry, then sand lightly with 220. Apply stain with a lint-free rag, wipe excess, and let it sit as long as the can says.
- Color ideas: weathered gray, classic walnut, or a two-tone (paint base, stain top)
- Seal with 2–3 coats of water-based poly (satin or matte) for coffee-proofing
- Lightly sand between coats with 320 grit for a smooth finish
Design Tweaks for Extra Style (Without Extra Cash)
Want it to look custom? Add simple upgrades that cost a few dollars and a few minutes.
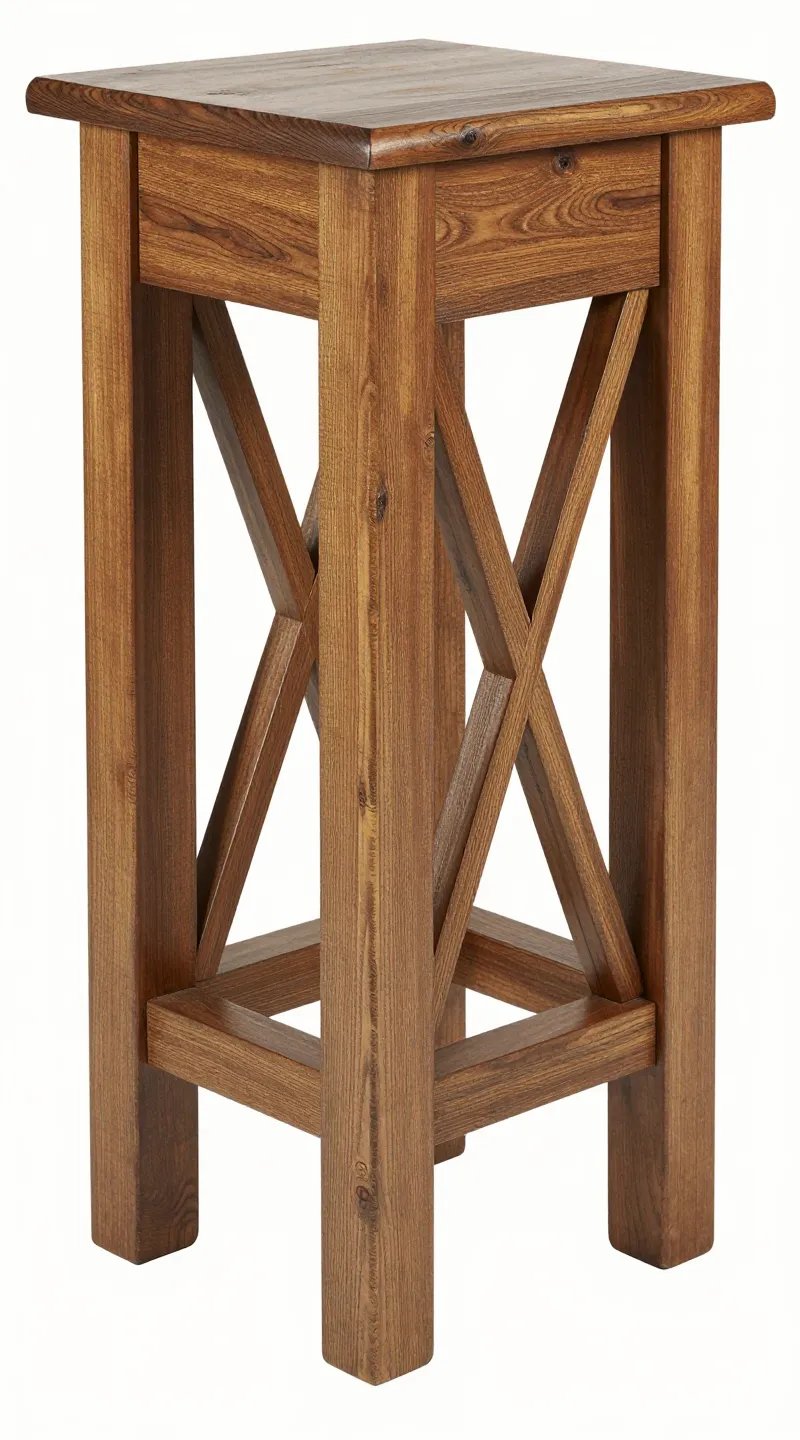
- X-braces: Cut 2x2s to crisscross between legs. It screams farmhouse without shouting.
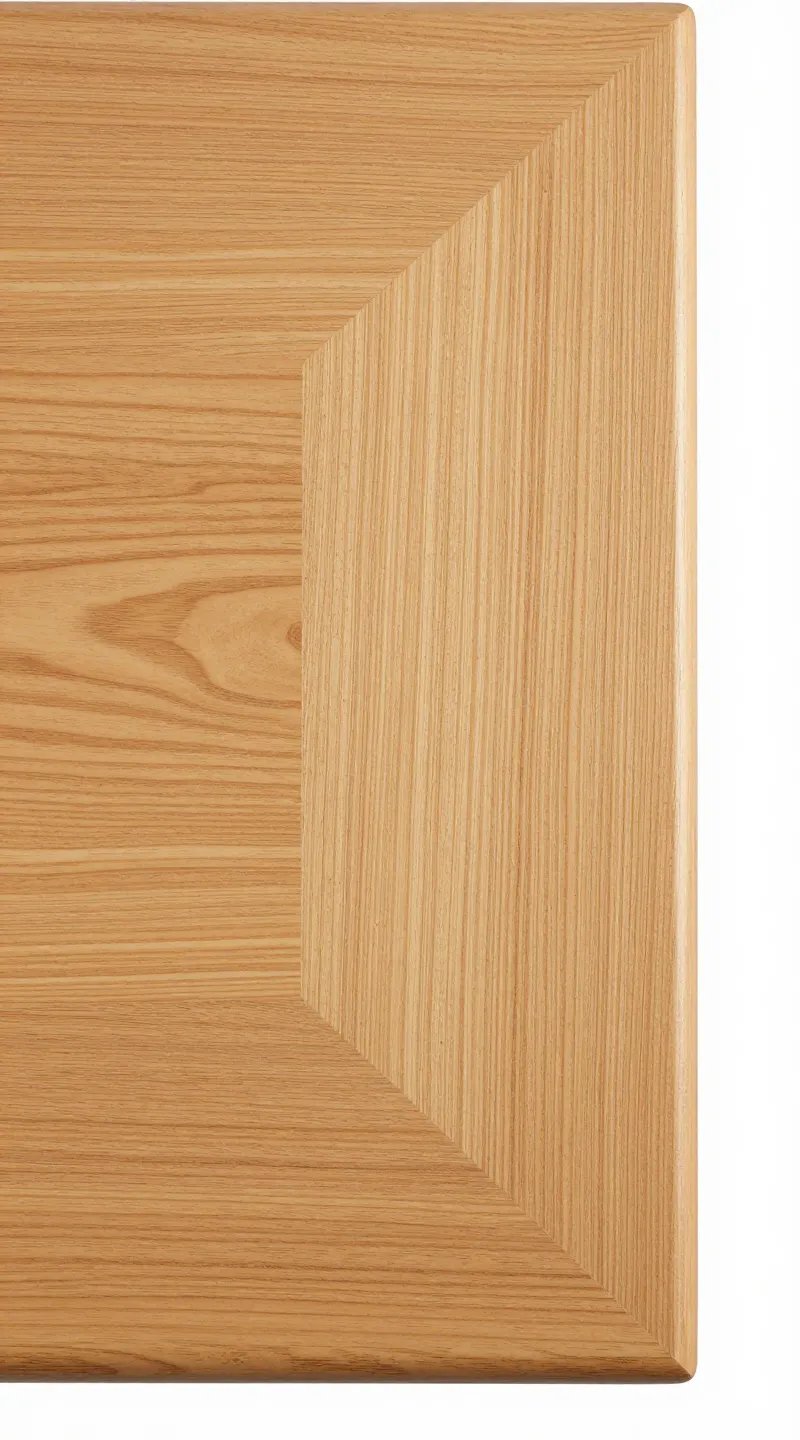
- Chamfered edges: Run a block plane or sander at 45 degrees along edges.
- Two-tone finish: Paint the base in off-white or charcoal and stain the top darker.
- Distressing: Tap lightly with a chain or hammer, then stain to highlight the “history.” Go easy unless you want it to look like it survived pirate duty.
Common Mistakes (And Easy Fixes)
We all mess up. Here’s how to bounce back fast.
- Cupped boards: Clamp hard during glue-up. If it still cups, rip the board and re-glue with edges flipped.
- Wobbly base: You likely missed square. Loosen screws, clamp square, re-tighten. Add a diagonal brace if needed.
- Blotchy stain: Use pre-stain conditioner or add a gel stain layer to even things out.
- Visible screw holes: Plug with wood dowels or filler and call it rustic. Nobody will notice from the couch.
Cost-Saving Tips That Don’t Look Cheap
You can trim the budget smartly without trimming quality.
- Buy “cull” lumber: Check the discount bin for slightly dinged boards. You’ll cut around defects anyway.
- Laminate legs: Glue two 2x4s together instead of buying 4x4s. Sand the seam and stain—looks great.
- Use sample pots: Paint stores sell small-size stains/paints perfect for one table.
- Skip fancy joinery: Pocket holes and glue hold like champs for this project.
FAQ
How long does this build take?
Plan for a weekend. Day 1 for cutting, glue-up, and base assembly. Day 2 for sanding, finishing, and final assembly. Dry times can stretch it to a “Netflix and wait” situation. Worth it.
What if I don’t own a pocket hole jig?
No problem. Use pre-drilled pilot holes and toe-screw the aprons into the legs at an angle. Add glue for extra strength. It won’t look as tidy underneath, but who’s staring at the underside?
Can I make it lighter or smaller for apartments?
Yes. Use 2x4s for the top instead of 2x6s and switch to 2×2 legs or laminated 1x3s. Drop the length to 36″–40″ and the width to 20″. Your floors (and neighbors) will thank you.
What finish holds up best to spills and kids?
Water-based polyurethane in satin or matte. It dries fast, doesn’t amber much, and handles coffee, crayons, and “oops.” Apply multiple thin coats and let it cure fully before heavy use.
How do I keep the boards from separating over time?
Use good glue coverage, clamp well, and let the top move. Attach the top with figure-8 fasteners or screws in slotted holes so wood can expand and contract. Locking it down tight causes cracks—don’t do that.
Do I need a lower shelf?
Nope. It looks nice and adds storage, but it adds weight too. If you hoard magazines (same), add it. If you like airy, skip it.
Conclusion
You don’t need a designer budget to land a farmhouse coffee table that steals the room. With a few boards, a weekend, and a little elbow grease, you’ll build something sturdy, stylish, and totally brag-worthy. Snap a photo when you’re done—I’m not saying it’ll go viral, but your living room will. FYI: once you build one, your friends will ask for theirs. Set boundaries. Or start a side hustle. Your call.