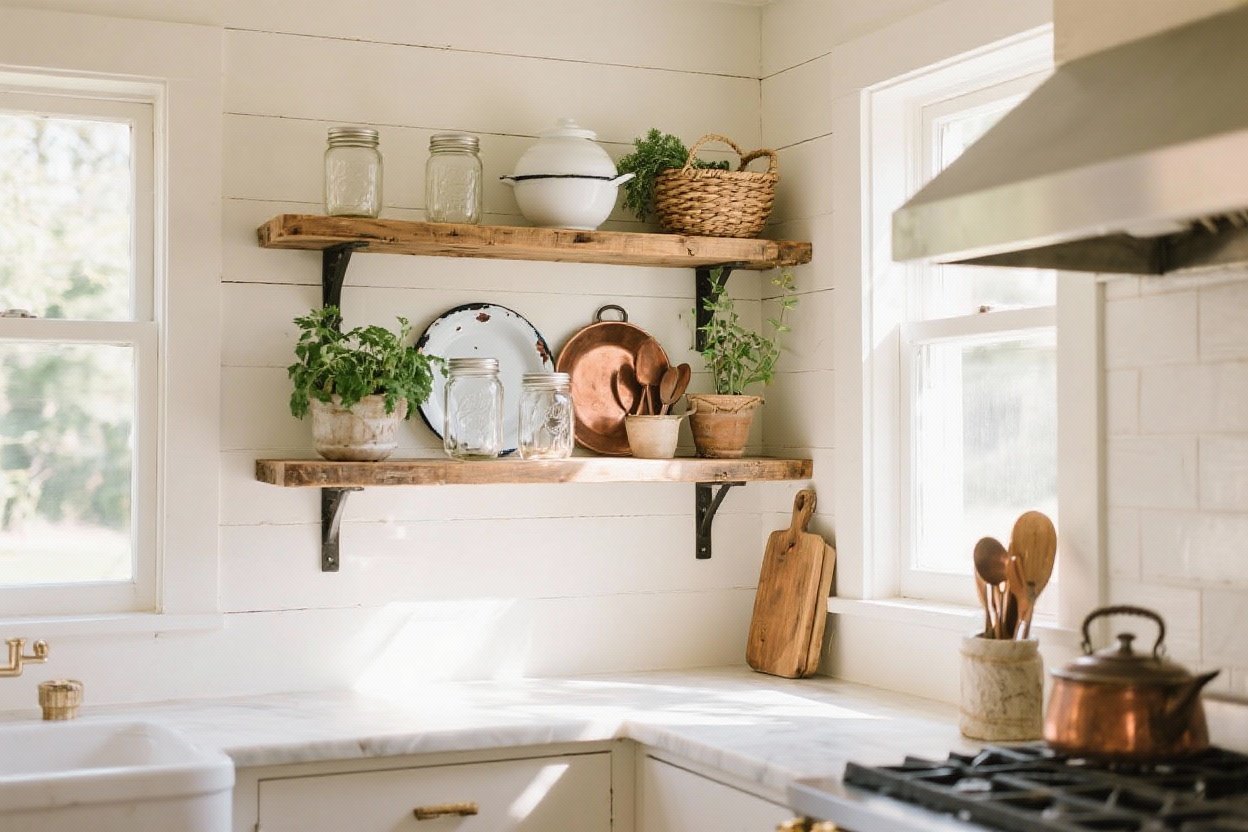
Let’s be real: those blank kitchen walls are begging for a glow-up. And nothing says cozy, curated, I-made-this-with-my-own-hands like DIY rustic shelves for a farmhouse kitchen. They’re budget-friendly, wildly charming, and honestly? Pretty easy to pull off with the right plan.
Grab some wood, a few brackets, and your favorite mug collection—because we’re building shelves that look custom and feel timeless. Ready to turn your kitchen into the warm, lived-in space Pinterest promised you? Let’s go.
1. Choose Your Wood Like A Farmhouse Minimalist
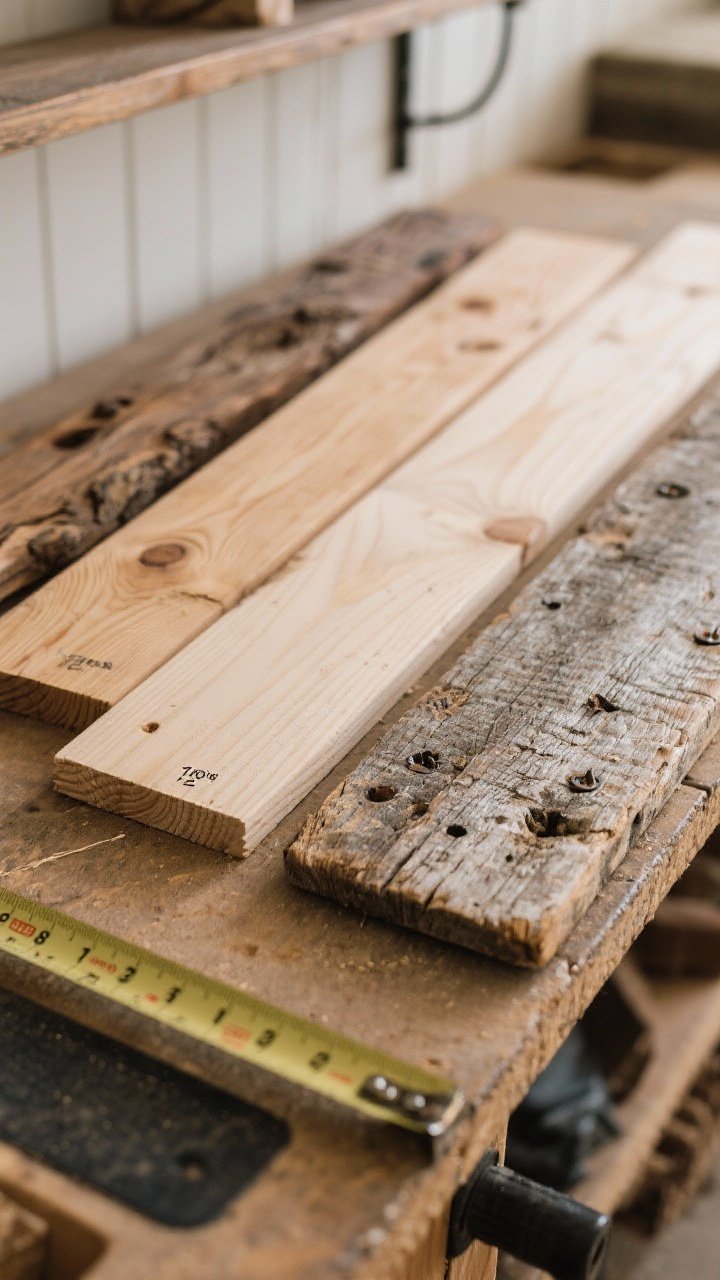
The wood you choose makes or breaks the whole vibe. You want something with character—aka knots, grain, and a few imperfections that tell a story, not a story about a factory.
Best Wood Options
- Douglas Fir or Pine: Affordable, easy to find, and super stainable. Great for beginners.
- Poplar: Smooth and paint-friendly if you want light, creamy shelves without heavy grain.
- Oak or Ash: Pricier but durable and gorgeous. Worth it if you want these to last forever.
- Reclaimed Wood: Peak farmhouse energy. Ask a local lumberyard or reuse store. Just inspect for pests and rot.
Sizing That Looks Right
- Depth: 8–10 inches is perfect for dishes; 12 inches if you’re storing mixing bowls.
- Thickness: 1–1.5 inches looks substantial without sagging. Thicker slabs = more dramatic, rustic energy.
- Length: 24–48 inches per shelf. Longer than 48 inches? Add a center bracket so they don’t taco over time.
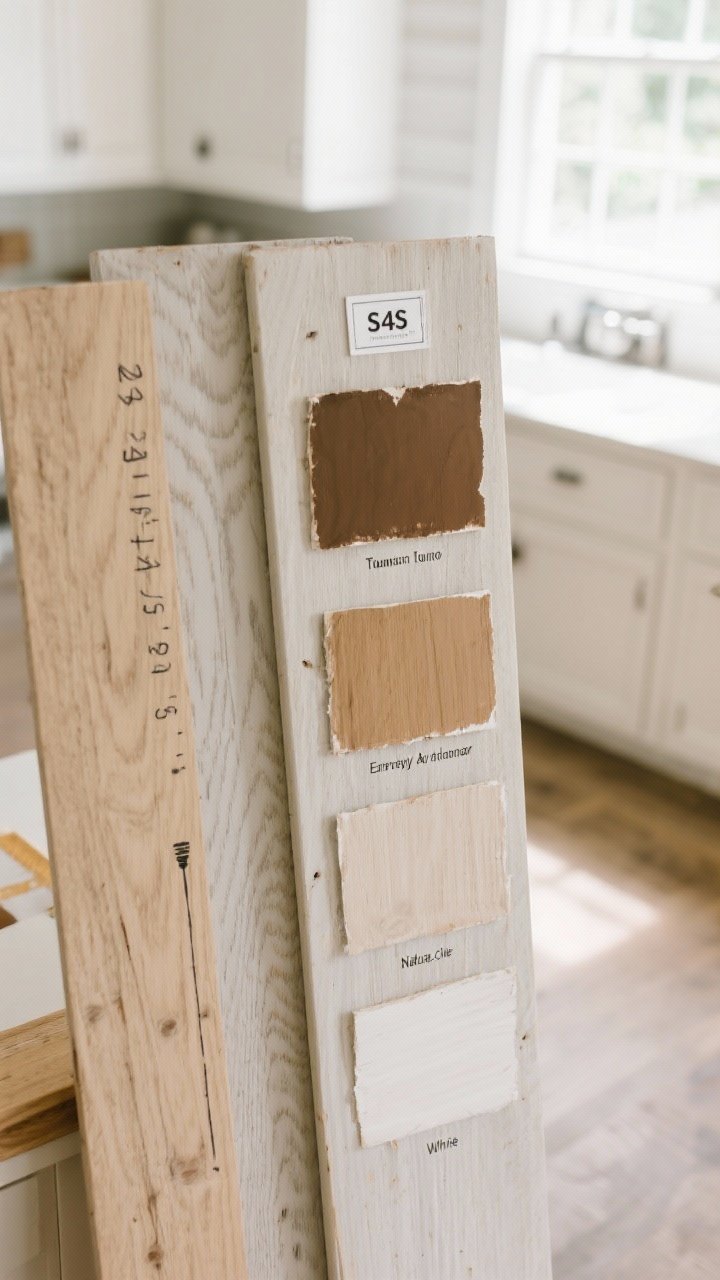
Pro tip: Look for boards labeled “S4S” (smooth on four sides) if you want to skip heavy sanding. Or ask the hardware store to cut your boards to length—often free or super cheap.
Farmhouse Color Palette
- Warm Walnut or Early American stains: Classic farmhouse warmth.
- Natural/clear finish: Understated and modern rustic.
- Whitewashed or pickled: Airy, cottage-core vibes. FYI, this hides dust like a champ.
Quick rule: If your cabinets are white, go medium-to-dark shelves for contrast. Dark cabinets? Go lighter to keep things fresh.
2. Finish Like A Pro: Stain, Seal, And Soften The Edges
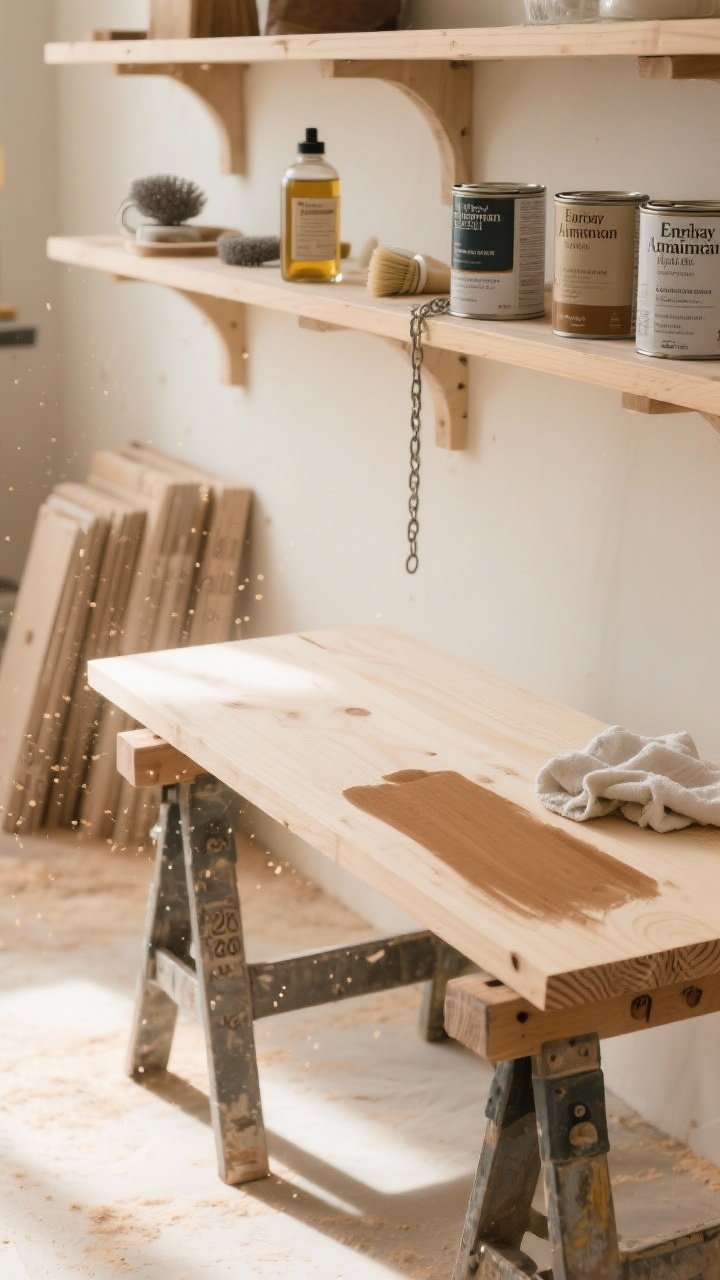
Cheap wood looks fancy with the right finish. That’s the secret. Your hands (and a little sandpaper) can turn a hardware store board into a shelf that looks like it came from a boutique.
Prep And Stain
- Sand: Start with 120 grit, then 180, and a quick pass with 220 for a smooth finish. Round the front edge slightly for a hand-worn feel.
- Condition: Use wood conditioner on softwoods like pine. It keeps stain from looking blotchy.
- Stain: Wipe on with a lint-free cloth, let sit for 5–15 minutes, then wipe off. Darker tone? Do a second coat.
Seal It Right
- Matte or Satin Polyurethane: Kitchen friendly and easy to clean. Two to three thin coats, sand lightly with 320 grit between coats.
- Hardwax Oil: Beautiful, natural feel. Slightly more maintenance but very farmhouse chic.
- Water-based finishes: Dry fast, don’t amber as much. Great if you want that Scandinavian, light-wood look.
Aging tricks: Tap lightly with a chain, rub with steel wool and vinegar, or dry brush a tiny bit of white paint and sand back. Just don’t overdo it—subtle distressing reads high-end.
3. Mounting That Won’t Fall Down (Or Freak You Out)
Let’s hang these like we mean it. Nothing ruins the farmhouse fantasy like a crashing shelf full of dinner plates. Good news: it’s straightforward if you follow the steps.
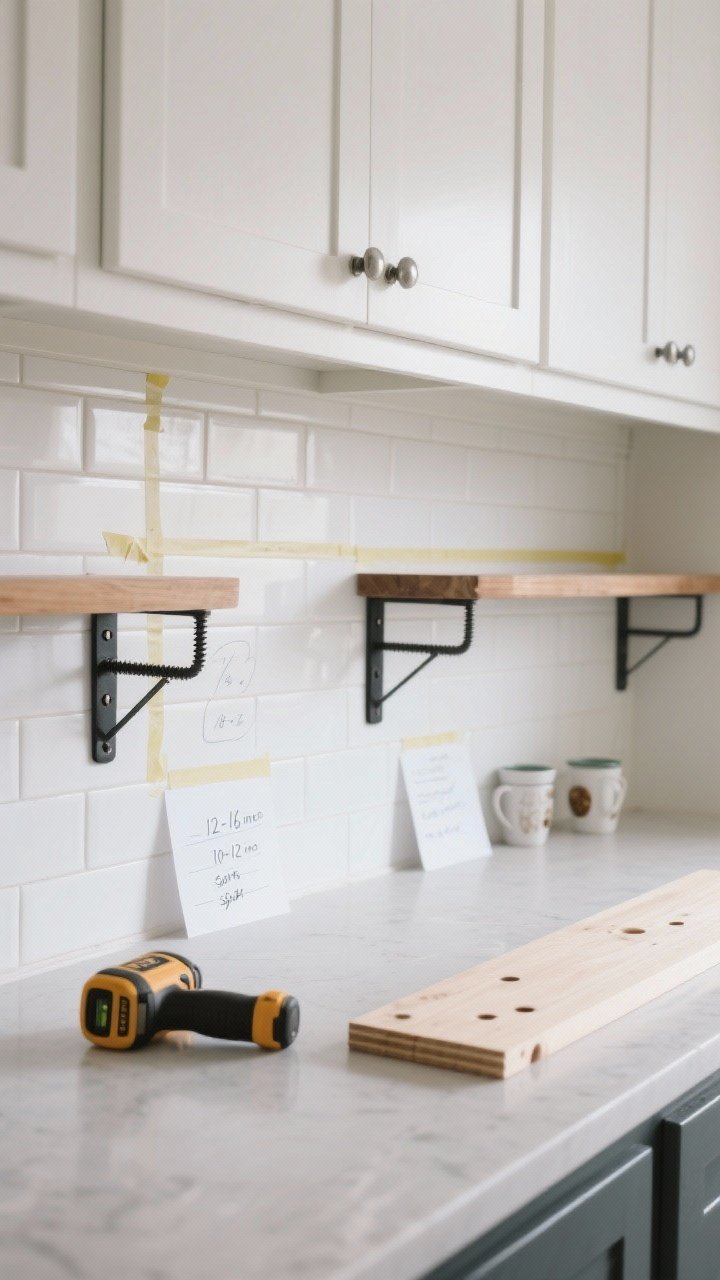
Find Studs And Plan Brackets
- Stud Finder: Non-negotiable. Mark studs lightly with painter’s tape.
- Bracket Spacing: One bracket every 16–24 inches. For long shelves, add a center bracket.
- Height: Leave 12–16 inches between shelves if you’re storing plates, 10–12 inches for mugs/spices.
Bracket Styles That Nail The Look
- Black iron L-brackets or corbels: Instant farmhouse vibe.
- Hidden/floating shelf brackets: Clean, minimal, and modern rustic.
- Pipe brackets: Industrial twist, looks amazing with darker stains.
Installation Steps
- Level your life: Use a level to draw a light guide line before drilling. Trust me.
- Pre-drill: Drill pilot holes into studs to avoid splitting and crooked screws.
- Mount brackets: Secure with wood screws long enough to bite (2.5–3 inches into studs).
- Set shelf: Place the board, double-check level, then secure from below with short screws (avoid poking through the top… learned that the hard way).
Weight reality check: Most setups hold 40–75 lbs per shelf when secured into studs, but factor in the weight of the wood itself. If you’re renting or missing studs, use high-quality toggle anchors and keep loads lighter.
4. Style Them Like A Designer: Functional, Beautiful, Zero Clutter
Now the fun part: making your shelves look like they “just happened” to be perfect. The secret is balance—mix useful kitchen stuff with a few decorative pieces so it doesn’t look like a gift shop.
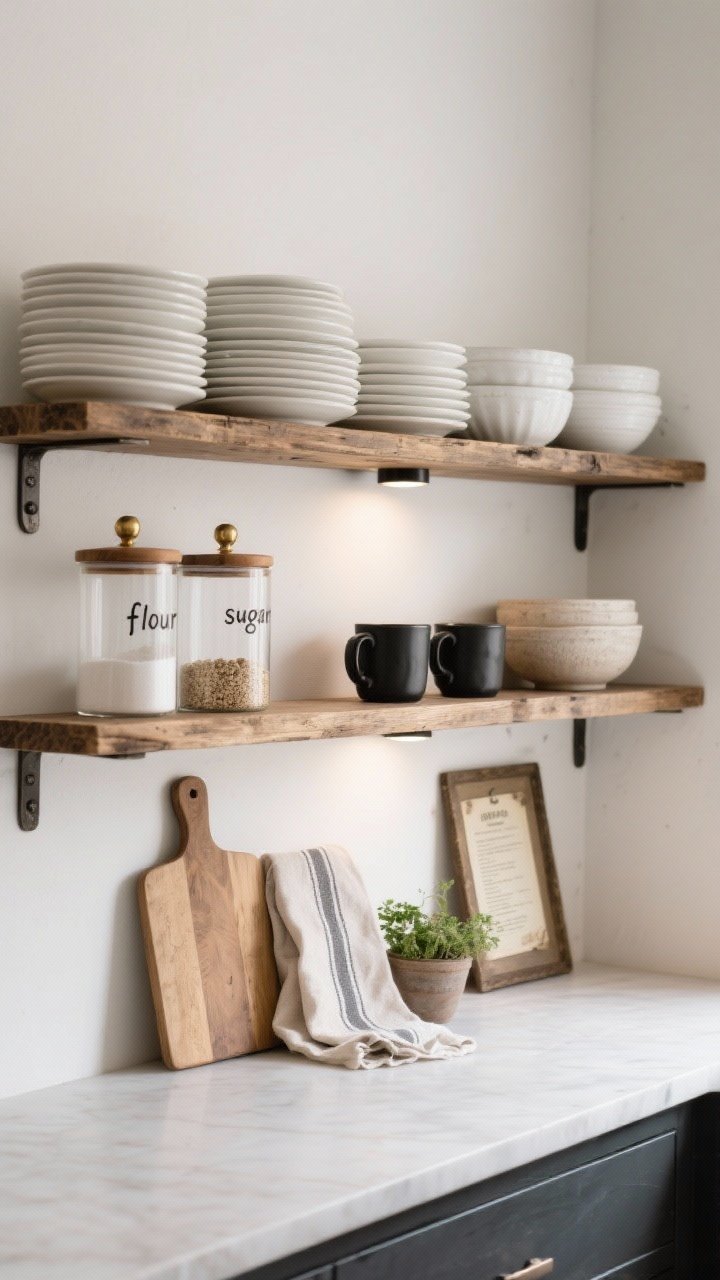
Set Your Foundation
- Everyday heroes front and center: Stack your white plates, favorite stoneware bowls, and a few go-to mugs. If you use it daily, it earns a spot.
- Group by material: Wood, ceramic, glass, metal. Too many shiny things? Add a woven basket to soften.
- Rule of threes: Style items in odd numbers and varied heights. It always looks more natural.
Mix Pretty With Practical
- Containers with soul: Clear glass canisters with brass or wood lids for flour, sugar, oats. Label them if that brings you joy.
- Texture time: Add a small cutting board, a linen towel, and a tiny plant or herb pot for life.
- Art, but make it kitchen: Lean a small vintage print or recipe card frame against the wall. Low effort, high charm.
Keep It Cohesive
- Color palette: Stick to 2–3 main tones (e.g., white, wood, black) and repeat them.
- Negative space: Leave breathing room. If it’s jam-packed, it looks chaotic, not chic.
- Lighting: Add a battery puck light underneath or a sconce above for cozy evening glow. Instant mood.
FYI: Open shelving is a great excuse to upgrade those mismatched mugs. Or don’t. A little mismatch can be charming—just keep it intentional.
5. Smart Layouts, Budgets, And Quick Troubleshooting
Whether you’ve got a spacious kitchen or a cute nook, you can make these shelves work. Here’s how to plan, budget, and fix the oops moments like a pro.
Layout Ideas That Always Work
- Over the coffee station: Two shorter shelves for mugs, beans, and syrups. Cozy café at home.
- Flanking the range hood: Balanced shelves on either side for oils, salts, and a plant. Looks custom.
- Over a low cabinet or buffet: Create a hutch effect with three shelves and art anchored between.
- Corner stack: Use small L-shaped shelves to maximize dead space and keep it cute.
Budget Breakdown (Realistic IMO)
- Wood: $20–$80 per shelf depending on species and length.
- Brackets: $10–$30 each (you’ll want two or three per shelf).
- Finish (stain + seal): $15–$30 total and lasts multiple projects.
- Tools: Drill, level, stud finder, sandpaper. Borrow if you can—community tools are a gift.
Common Mistakes To Avoid
- Skipping studs: Don’t trust drywall alone for heavy shelves. Your plates will revolt.
- Going too deep: 14-inch-deep shelves collect clutter and feel bulky. Keep it slim unless you truly need the depth.
- Overstaining: One heavy coat gets blotchy. Thin coats + wipe-off = pro finish.
- Uneven spacing: Measure from counter to ceiling and plan ahead so everything lines up with windows and tile lines.
Quick Troubleshooting
- Shelf bowing? Add a center bracket or flip the board so the natural curve faces up and settles flat.
- Screws stripping? Use longer quality screws or fill the hole with wood glue + toothpicks, let dry, then re-screw.
- Wobbly shelf? Check that brackets are flush against the wall. Shim behind with a sliver of wood if the wall is uneven.
- Dust drama? Style with closed containers and rinse items occasionally. Also: a small hand vac is your bestie.
Speed Versions (Weekend Wins)
- One-day upgrade: Pre-finished boards + simple black brackets. Up by dinnertime.
- No-saw method: Get boards cut at the store, sand the edges, wipe on a single stain + sealer combo.
- Rental-friendly: Use shorter shelves anchored into studs with minimal holes. Patch later—easy.
Safety note: Keep shelves away from direct stove heat and always double-check gas and electrical lines before drilling. You’re handy, not reckless.
That’s it—your roadmap to DIY rustic shelves for a farmhouse kitchen that look designer and feel personal. Start with one shelf, get the hang of it, then build the full wall once you’re hooked. You’ve got this, and your kitchen’s about to be the coziest room in the house. Brew some coffee, queue your favorite playlist, and make those walls work for you.